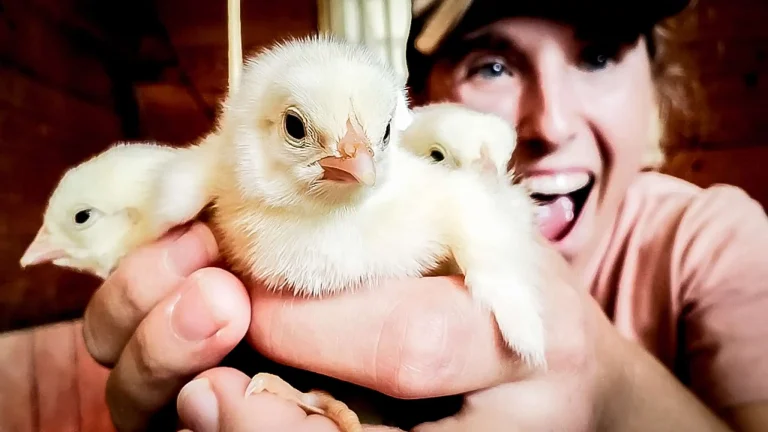
Good morning. So this week is super exciting because we’re getting new baby chicks again. Yay! It’s actually the last time we will have chicks this year, which is sort of sad.
But today I need to get the brooder ready for them when they arrive tomorrow. So here we go.
I have not really looked at this brooder since taking the other chicks out, so it is definitely not ready.
There are really four things that I have to do to prepare this brooder. I have to deal with the bedding. I have to make sure that the feed is ready. I have to make sure the water is ready and I have to make sure the heat is ready.
And if all that’s in place, we should be set.
Turn and Add New the Bedding
I have brooded one batch of chicks in here. So far, I’m not going to be cleaning out the bedding. I’m just going to let it pile up.
But I am going to add some new stuff to the top. Stirring up the bedding in between batches is also a good idea because it takes the manure that’s on the top and incorporates it down below.
Now, the one area that I am going to actually scoop out bedding is the area by my water here. The bedding down by the nipple drinker down there gets really wet because as the chickens drink some water drops.
That area is going to be a lot more moist, which means I want to get it out of there before the next batch comes in.
See how wet that stuff is compared to the other shavings? That’s why I wanted to get that out of there.
All right, Now, to put down the fresh bedding.
Cleaning the Heat Lamps
Now I’m going to make sure the heat lamps are already so in between each batches.
I like to dust off the heat lamps because they do get a nice thick layer of dust on them. And that’s for cleanliness, but also for fire prevention. I’m just going to wipe these off quick. Just taking a little extra time to clean off the dust goes a long way.
Now you can see there’s also some quite a few cobwebs with lots of dust on them, so I’m just going to go ahead and take those down, too, while I’m at it.
I just like to freshen up the brooder between each batch because otherwise it gets messy and dirty really fast and it just keeps piling up throughout the year, so this just gives it a good chance to get cleaned every month.
Cleaning the Automatic Water Bucket
All right. Let’s talk water. So for the first time this last batch, I had an automatic water, which was amazing because I never had to worry about watering and the water stay nice and clean. It was constantly there, so I loved it.
I’m going to be cleaning it in between batches this time because I had this hose coming from the outside through right here down to this bucket with this float valve.
The float valve kept the water level good in this bucket, and then gravity fed down to my nipple water. I did not cover this bucket and so a lot of dust got in there.
What I’m going to be doing is just cleaning out this bucket a little bit, getting the dust off of the float valve and running some water through my nipple water so that it’s just flushed and clean and then resetting it back up.
Probably not going to happen this year, but definitely next year I want to add a lid to that bucket with the float valve so that the dust stays out of the water.
All right, the bucket is all clean. The pipe has been flushed. So now we’re just going to get this set back up with the float valve. We have our bedding, we have our heat lamps, we have our water.
Final Checks
Now we just need to make sure that we have our feed ready for the chicks then I’m all ready for the chicks to come.
Hopefully they come tomorrow. I haven’t gotten a shipment notification yet, but we shall see.
I love having this permanent brooder set up, because in the past, I’ve always had to build an enclosure in the barn or in the shop and try to basically rig things up.
But now having this permanent area with the automatic water and the feeders already hanging there, it makes it super easy to prepare for chicks coming in, so I will post when I get them.
I’m super excited, like I said, the last batch of the season, so here we go.